How to Hang Canvas Art in a Coastal Rental Without Damaging Walls
Every coastal rental has one: a canvas propped against the skirting board, still in its bubble wrap, waiting for a decision. The lease says no nails. The wall is a little chalky. The sea air does something strange to everything left in one place too long. So the painting leans, and the room stays unfinished.
Hanging art in a rented island home is not really a problem of hardware. It's a problem of sequence: read the wall, choose the method that suits it, place the piece where the climate won't chew it up, and know how to take it all down again in a way that keeps your deposit. Get that order right and the canvas goes up in twenty minutes.
Read the wall before you buy a single hook
Walk around the room with the lights on and look along the wall, not at it. A raking light shows the bumps, patches and thin spots that decide what will hold. Then work out what you're actually sticking to.
Modern drywall with fresh paint is the easiest surface, with one trap: paint that hasn't fully cured can come away with an adhesive strip. If the place was repainted before you moved in, give it a few weeks, or press a strip of ordinary masking tape to a hidden corner and peel it off slowly. If paint lifts, wait.
Plaster and limewash are common in older island houses and less forgiving. Limewash and distemper are powdery by nature, and adhesive strips will bring a patch of it down with them. On these walls, lean toward methods that use a small pin or nothing at all.
Wallpaper will not survive most adhesives, whatever the packet says. Brick, stone and concrete tend to shrug off sticky strips entirely, but they are often the walls where a picture ledge or a floor easel makes the most sense.
One more thing to check: which walls face outside. In an older house near the water, the wall on the sea side can run cooler and damper than the interior partitions, and that matters later.
The renter's hanging kit, from gentlest to firmest
You don't need much, but you do need the right handful of things. Keep them in a shoebox with the leftover strips and the packaging; you'll want them at move-out.
- Adhesive strip hooks and interlocking strips. The default for light and medium canvases on sound, painted drywall. Rated by weight, but treat those numbers as a dry-room figure.
- Adhesive hook-and-loop strips. Good for flat-backed frames and small canvases that sit flush; less good for deep stretcher bars.
- Thin hardened pins or "monkey" hooks. Leave a hole the size of a pinhead, hold far more than you'd expect, and disappear with a dab of filler.
- Existing picture rail or moulding. If the room has one, S-hooks and cord mean no new holes at all. Check the rail is fixed, not decorative.
- Tension rods. A neat trick in a window reveal, an alcove or between two shelves; small canvases can hang from clips with no wall contact.
- A picture ledge or a floor easel. Zero fixing, and honestly the best answer for heavy pieces in a rental.
- Brick clips. Spring clips that grip the mortar joints without drilling, for the exposed-stone wall you'd otherwise have to give up on.
Hanging a canvas with adhesive strips, step by step
Most failures with adhesive strips come from rushing the first two steps, not from bad luck.
- Weigh the canvas. Stand on a bathroom scale with it, then without. Subtract. A big stretched canvas is often lighter than it looks; a small one with a chunky frame may not be.
- Clean the wall. Wipe the area with a cloth dampened with rubbing alcohol and let it dry completely, which takes longer in humid weather than you think. Dust and salt film are the enemy of adhesion.
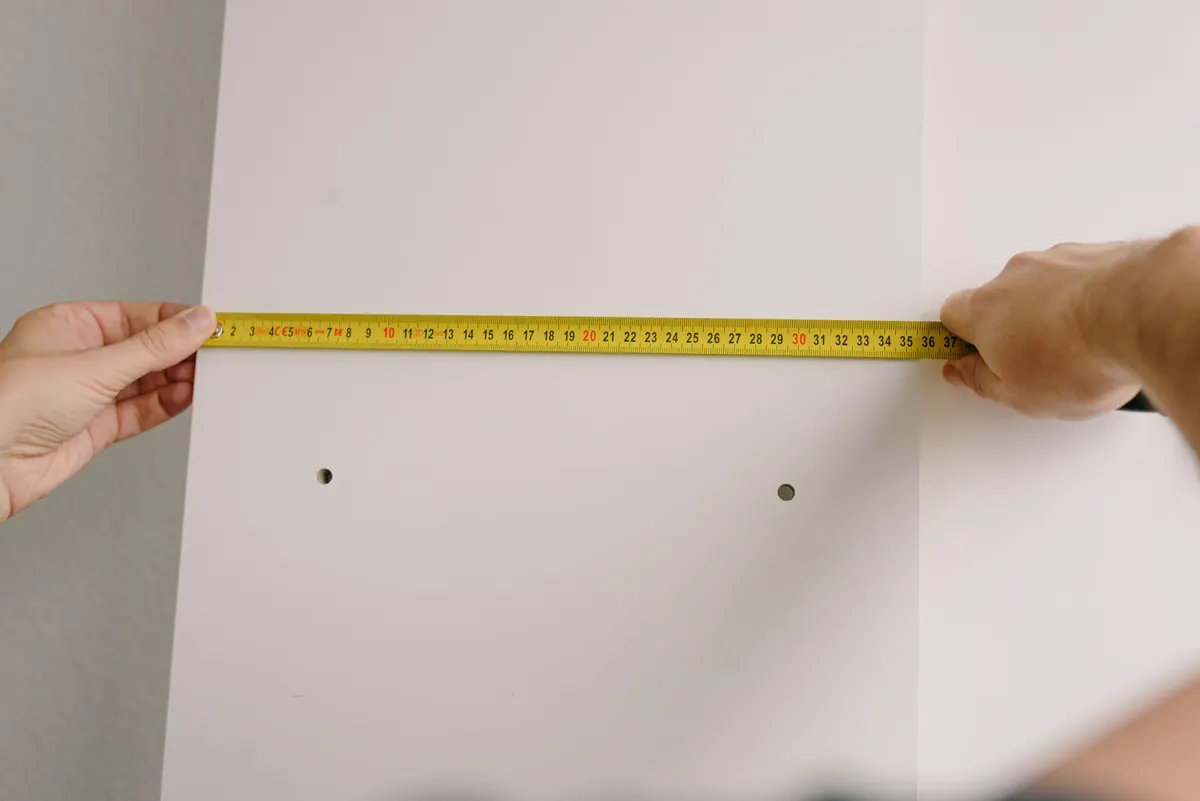
- Choose the height. The centre of the artwork at roughly 145–150 cm from the floor suits most rooms. Over a sofa or a sideboard, work from the furniture up rather than from the ceiling down.
- Mark, don't measure twice. Put a strip of painter's tape on the wall and mark the top edge and centre on it. Tape lifts off cleanly if you change your mind.
- Apply to the frame, not the canvas. Fix the strips to the wooden stretcher bars at the back, pressing firmly for the full time the instructions specify. Never stick anything to the painted face or the raw canvas.
- Wait before you hang. Give the adhesive an hour to settle, ideally longer. It feels excessive; it roughly doubles the odds the piece is still there in a month.
- Test, then release. Hang with one hand under the canvas, apply gentle downward pressure, and let go slowly.
When you take it down, pull the tab straight down along the wall in a slow stretch, never outward. That single habit saves more paint than any product choice.
Placement: where salt air and sun do the least damage
On an island, the wall you choose matters as much as the hook. Canvas is cotton or linen stretched over wood, and both absorb moisture from the air. The result, over a season, is a slack canvas, a mildewed back, or colours that have quietly faded.
Keep air moving behind the canvas
Press four small cork or felt pads onto the back corners of the stretcher bars so the canvas stands a few millimetres off the wall. Air circulates, the back stays dry, and you avoid the damp rectangle that appears when a canvas sits flat against a cool wall for months.
Avoid the obvious trouble spots
Skip the wall directly above a radiator, a heated towel rail or an air-conditioning unit; the cycling of warm and cool air is what causes condensation. Keep canvases out of the splash zone in a bathroom unless the room has a working extractor fan, and away from the cooker and kettle. In a kitchen, a piece near the hob will collect a fine grease film that's very hard to remove from unvarnished canvas.
Handle the sun deliberately
Strong afternoon sun will fade inks and pigments over time, and it does it slowly enough that you won't notice until you take the piece down and see the shadow of the frame on the wall behind it. Put your most valued canvas on a wall that gets indirect light, and rotate pieces between rooms once or twice a year. A UV varnish or glazed framing helps, but nothing beats not leaving a canvas in direct sun for six hours a day.
Salt is the other slow worker. It settles on frames and canvas edges as a faint haze and attracts moisture. A dry, soft cloth over the frame and the front of the canvas every few weeks is enough; never wipe a canvas with a damp cloth.
If a canvas smells musty or the back feels cold and soft, take it down and let it dry flat in a well-ventilated room away from direct heat before hanging it again. If a piece is valuable or badly affected, ask a conservator rather than experimenting.
Heavier canvases, awkward walls, and the permission question
Above roughly three kilos, or anything with a deep box frame that pulls away from the wall, adhesives are the wrong tool. This is the moment to email the landlord or agent and ask for two small nails or a French cleat, offering to fill and touch up the holes before you leave. Get the yes in writing. Most owners of coastal rentals are relaxed about a couple of well-placed holes and much less relaxed about a canvas-shaped mark on the plaster where something fell.
For a gallery wall, cut newspaper templates for each canvas and tape them up with painter's tape first. Move them around for a day before committing. Photograph the finished arrangement on your phone so you can reproduce it after the move, and so you have a record of the wall's condition.
And on delicate plaster or fabric-covered walls, don't fight it. A slim picture ledge, a leaning arrangement on a deep shelf or a simple wooden easel in the corner can look more considered than a nail ever would.
The move-out test
Before you hang anything, take a photo of the bare wall. Keep the packaging and spare strips in a drawer, not a bin bag in the cellar. On the way out, warm each adhesive strip briefly with a hairdryer on the lowest setting, then stretch it down slowly; any residue comes off with a little warm soapy water and patience rather than solvents. Fill pin holes with a touch of filler, and if you've promised a touch-up, use the tin of paint the owner left in the cupboard instead of guessing the colour.
Then hang the last canvas in the new place the same week, before it becomes furniture. Island light is the whole reason for living here, and a painting that catches it properly is worth twenty careful minutes and a box of strips.
Photo: Nika_Akin / Pixabay